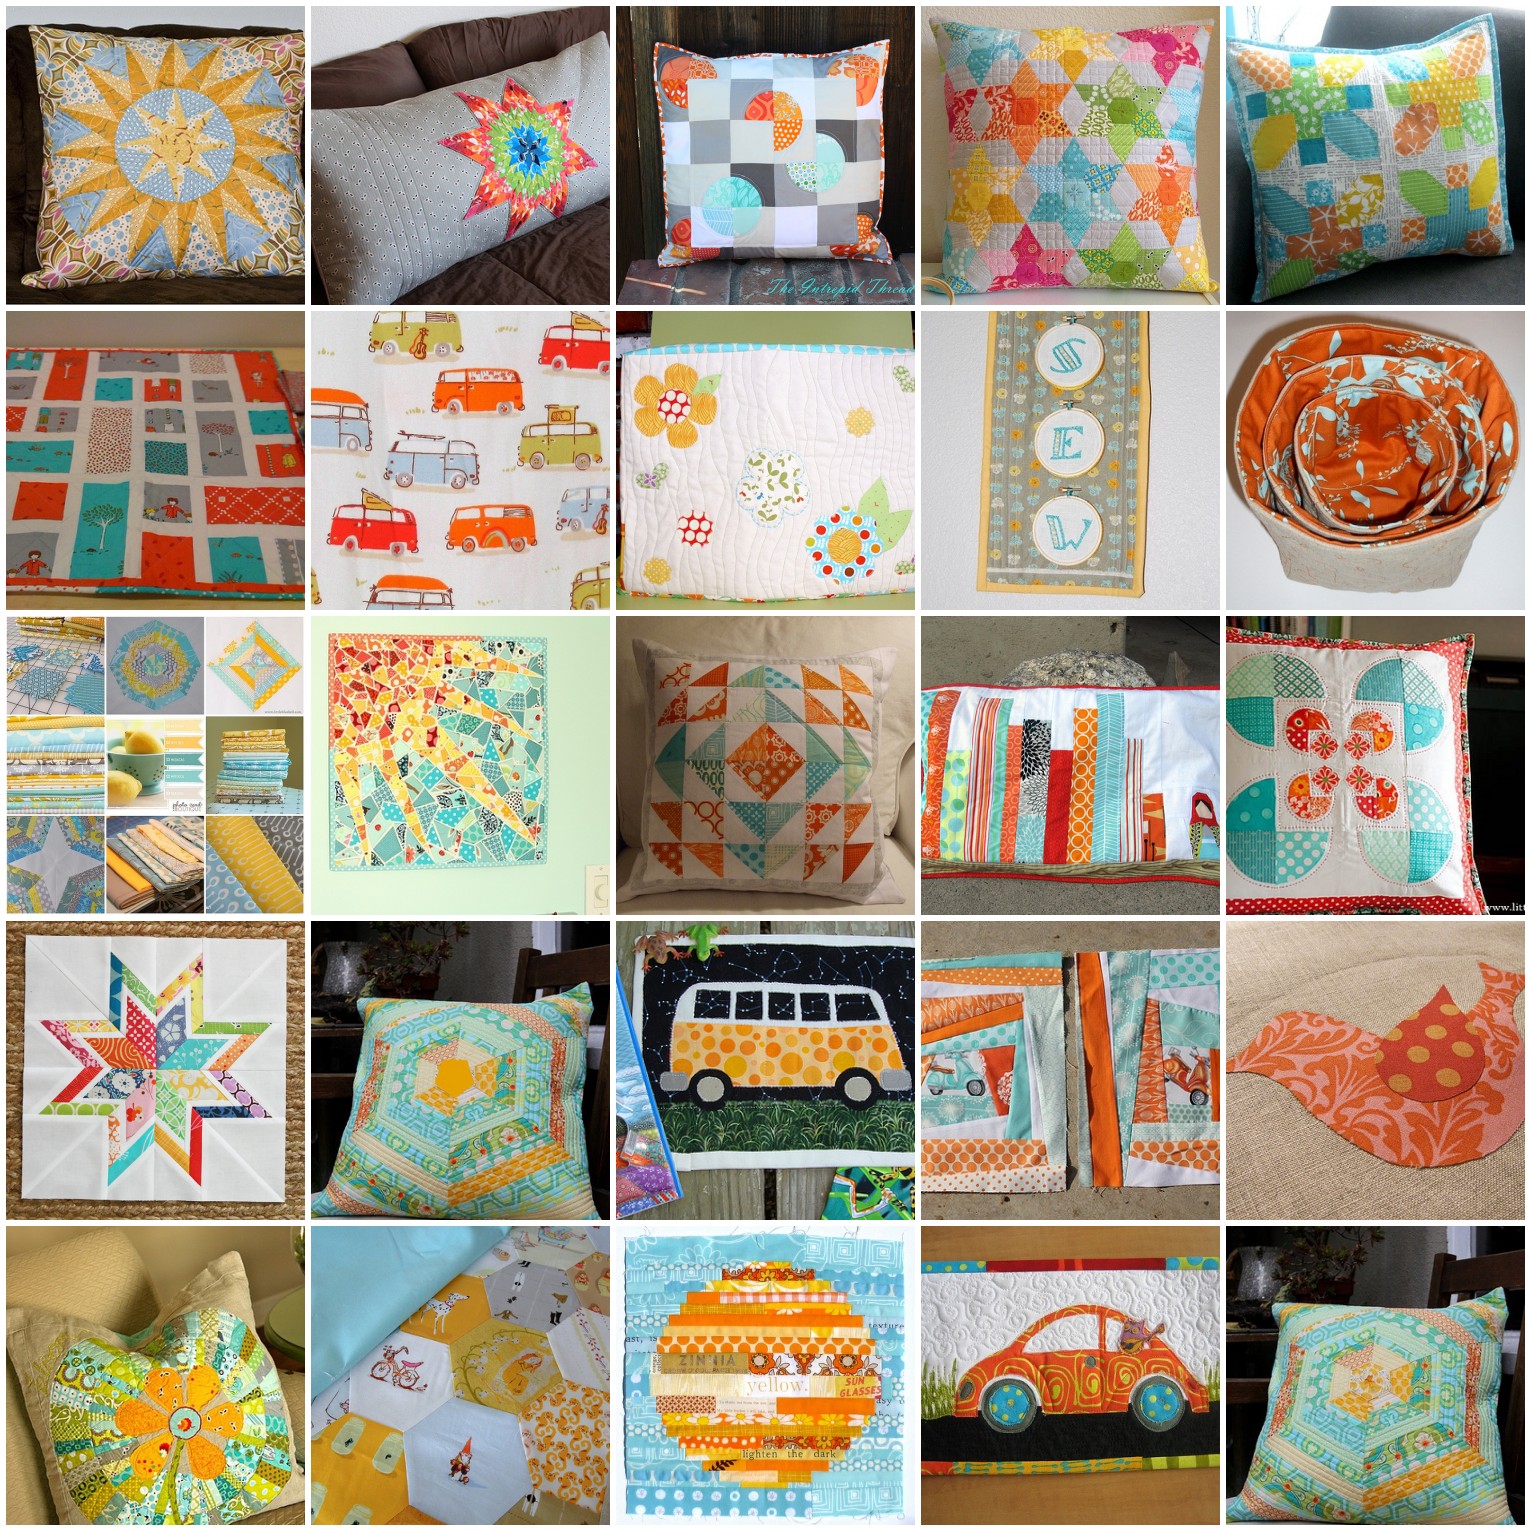
I had such high hopes for the month of August. I planned to make myself accountable and work on THE LIST of WIPs sitting in the sewing room to make room for some new projects. Well, naturally, things did not go according to plan. As usual.
I was fairly productive. I participated in the Think Christmas Blog Hop and made a quilt....
I did manage to get two tote bags out of the WIP pile...
I made 4 Swoon blocks....
I played along in the Bowls With Borders blog hop and I made two wall hangings...
I finished my Covered Journal for my partner in Super Swaps...
And a name tag for my partner in the RATZ swap....
I made my swap items for my partner in the Scrappy Bits swap...
And chose the fabric I'm going to send along...
And even made some more hexies for my GMFG quilt.
But I didn't touch THE LIST.
1. Jelly roll quilt - top is finished; needs to be sandwiched, quilted and bound
2. Fairy Tale Friends - ditto
3. 3x6 Bee Blocks - I have accumulated enough blocks to make this quilt!
4. Citrus Quilt - I have 10 of the 12 blocks I need, so the plan is to make 2 more blocks, then sandwich, quilt and bind
5. Granny Squares Quilt - I have 12 of 18 blocks I need, so I'll make 6 more blocks, then sandwich, quilt and bind (SQB for short!)
6. String Blocks Quilt - I have 40 string blocks, so that should be plenty, , so make the top, then SQB
7. Bow Tie Quilt - I have 80 bow ties, again, plenty, so make the top, then SQB
8. Bento Block Quilt - I have 40 bento quarters, again plenty, so make the top and SQB
9. Breath of Avignon Quilt - I'll have to see where I am with this one, but I think I can get it done as well.
Not. One. Single. Finish.
I guess the good thing about lists is that this is MY list, and I can do it or not do it as I choose. So, all those things will remain on the list. For now. Maybe I'll do better in September.
Maybe.
Meanwhile, I have to go make a dress.
It's not on THE LIST either.
But despite progress on the list, I'm linking up with Lily's Quilts Fresh Sewing Day. Won't you join me?
Showing posts with label merry christmas quilt. Show all posts
Saturday, September 1, 2012
Thursday, August 9, 2012
Announcing: The Think Christmas Blog Hop Winner!
Thank you to everyone who stopped by to visit during the Think Christmas Blog Hop. Wasn't that fun? Lesley and Madame Samm did a GREAT job of putting together a wonderful hop, and I, for one, am inspired to get started on my Christmas sewing.
I had so much fun reading about your favorite Christmas traditions. I am so grateful you all shared such precious memories with me. So many of them sparked memories of my own Christmases. It was a marvelous trip down memory lane as I tried to respond to all your comments. Thank you so much for sharing.
So are you ready to pick a winner? We had 183 comments on this post and 16 on FB, making a total of 199, so I asked Mr. RNG to pick a winner for us. He picked
who is
I had so much fun reading about your favorite Christmas traditions. I am so grateful you all shared such precious memories with me. So many of them sparked memories of my own Christmases. It was a marvelous trip down memory lane as I tried to respond to all your comments. Thank you so much for sharing.
So are you ready to pick a winner? We had 183 comments on this post and 16 on FB, making a total of 199, so I asked Mr. RNG to pick a winner for us. He picked
Random Integer Generator
Here are your random numbers:59Timestamp: 2012-08-10 03:03:55 UTC
who is
aiah23August 3, 2012 10:29 AM
I am a new follower now! My favorite family tradition was wrapping last minute gifts on Christmas Eve. My mom would always give me my sister's gifts to wrap and she would have to wrap mine. I'd go into my own bedroom, put on A Christmas Story, and do that:) Still to this day I think back fondly on that although my sister lives in CO with my 7 y/o niece and I have my own family and home now.
This particular tradition reminded me of a time when one of my daughters was about 12 and was left to babysit her siblings as mom and dad went Christmas shopping or to a holiday party or something. She usually helped at Christmas by wrapping all the gifts except her own. Apparently this was a boring (and very quiet) evening because she unwrapped every gift, tried on all the clothing, examined everything else, then wrapped it all back up and put it under the Christmas tree.
But of course, when Christmas morning came, there were almost no surprises for her and she didn't enjoy it very much. I remember thinking that I hadn't done a very good job on her gifts that year. She was well into adulthood before she shared what really happened on that Christmas so long ago. The memory always gives me a good laugh. To this day, this particular daughter swears she doesn't like surprises, but you should see her go after her stocking on Christmas morning.
Aiah23, you are a apparently a "no-reply" blogger. Please email me your mailing address and I will get your lovely DS Quilts fabric off in the mail to you. If I don't hear from you by the end of the day tomorrow, I will choose a new winner.
Wednesday, August 8, 2012
Too Many Swaps?
![]() |
| Mosaic for Fab Little Quilt Swap (FLiQS) |
I got a little bit behind last week when I was making the Merry Christmas Quilt, which had to be finished and posted by midnight Thursday. I almost made it. The blog post came at 1:15 am or so, but I doubt I had anyone jumping up and down to read it at that time of day. Should you want to make this little quilt yourself, the tutorials are here (part 1) and here (part 2).
Then I had hoped to spend the weekend sewing but I volunteered to help a friend organize a swap, so I spent the weekend partnering up swappers (who knew it would take me so long???) This swap mama stuff is more difficult than it looks, but I finally came up with a method that worked for me after about the 4th try. And then there was the fun of sending 45 emails... But overall, it was a good experience and will serve me well the next time. There's a first time (and a learning curve) for everything, right?
![]() |
| Mosaic for DS Quilts Mini Quilt Swap |
So Sunday evening, after all the emails were out, and when I should have been sewing but I was watching the Olympics instead, I sat down to make some mosaics for some swaps I've joined. We all know that I'm a swap addict and apparently have no self control when it comes to these things. Is it the fun of making something for someone else? The fun of getting a little present in the mail (and even WH likes that part)? The fun of stalking my partner? The fun of trying something new? All of the above? I have no idea what motivates me to do these things, but at least it's not a self-destructive addiction.
Is it?
![]() |
| Mosaic for my new colors for Q3 of the 3x6 Bee |
I always use Big Huge Labs to make my mosaics, and it made the mosaic just fine, but I can't get it to download the credits for the yummy pictures I choose, so all of my mosaics are credit-less. I'm sorry creative Flickr people. I really tried. I even disconnected Flickr from BHL and reconnected it, and it still doesn't work. I see on Flickr that it works OK for other people, so I'm not sure what has gone wrong. People put so much time, effort, and creativity into these lovely creations, I like to give credit where it's due, you know?
![]() |
| Mosaic for the Modern Scrappy Bits Swap |
Saturday, August 4, 2012
Think Christmas Blog Hop - A Simple "Merry Christmas" Quilt & Tutorial - Part II
Simple Merry Christmas Quilt
And Tutorial - Part II
This post is Part II of the tutorial for the Simple Merry Christmas quilt from yesterday's post. And, if you are looking for the DS Quilts giveaway, please leave a comment on yesterday's post as well. Comments left on this post will not be included in the giveaway. The giveaway is open until Wednesday, August 8th.
As promised, today we're going to finish our Simple Merry Christmas quilt. I apologize for it coming so late in the day. I meant to post it first thing this morning. But did you ever have one of those days where you woke up with the best of intentions to get a lot done and were thwarted at every turn? Well, that was my day today. I was going to get ***SEW*** much done... and just - well - didn't.
On the other hand, perhaps it is a miracle I'm getting to it today at all, since I had to take the pictures not less than 3 times. But enough whining, let's finish our quilt, shall we?
Our Simple Merry Christmas quilt is part of Day 5 of the Think Christmas Blog Hop. Madame Samm and Lesley of the Cuddle Quilter put together a truly inspiring Christmas blog hop, didn't they??? I hope you're ready to finish up your quilt today.
Beverage? Check.
Comfy chair? Check.
Computer? Obviously.
Christmas music? Oh. What a great idea!
OK, we're ready.
When yesterday's post concluded, we had the quilt top completed, right? Well, today we're going to finish it up.
If you chose the square quilt top, your finished quilt top should measure 59-1/2 inches square. If you chose the rectangular quilt top, your quilt should measure about 59-1/2 x 76-1/2 inches. Obviously, you need backing about the same size.
Here's what my backing looks like. I chose to do a very simple pieced backing because this is, after all, a Simple Merry Christmas Quilt! One width of fabric wasn't enough, but I didn't want to be too fussy with it, so I stitched two different prints on opposite sides of the back. I like that the seam isn't exactly down the middle, but if you're precise like that, you could surely make that work.
For the back, you will need about 3 yards of your main fabric and 1/2 yard of 2 complementary fabrics. You will also need about 1/2 yard for the binding.
First, I cut off my selvages because I'm saving them for something (I'm not sure what yet, but they sure are pretty!). Then I laid my 3 yard piece of red swirl fabric folded right side out down on my cutting table. I use my (clean every time) kitchen counter because it minimizes stooping. (The older I get, the more I appreciate that.)
Then I laid my 1/2 yard of fabric on top of the red swirl wrong side up and sliced it all the way across with my rotary cutter. Pick it up carefully and set it aside.
Now repeat the above with your other 1/2 yard of fabric.
Holding the two fabrics where they meet at the raw edge, carefully unfold only the red swirl and sew the red swirl and the 1/2 yard piece together. Because they were already RST, you shouldn't have to do too much manipulating.
Repeat for the other 1/2 yard piece.
Press the seam flat. I like to turn my seam to the inside (toward the red).
Turn your pieces so the 1/2 yard sections face opposite directions and stitch the two pieces together. Press the seam flat. Here's what it will look like when it's done, if that helps.
Now, you need to find a flat surface large enough to sandwich your quilt. Once again, I use the (freshly cleaned) floor, but this time in the other room because it's a little larger. Start by getting your backing as flat as possible, then spread your batting on top and finally the quilt top.
I had a really tough time getting a photo of the quilt sandwich. With the quilt on the floor, there's not much extra room in my room. And sadly, the only time I had was after work, so the lighting was terrible. Anyway, once you have everything as flat as you can with all the wrinkles smoothed out, pin or baste according to your preferred method.
Back at the sewing machine, quilt according to your preferred method. I quilted in a double grid pattern, 1/4 inch on both sides of each seam.
Here's a picture of the grid-style quilting on the finished quilt.
I did a blanket stitch in red thread (with a white bobbin) around each of the letters. I freely admit that this was a pain in the neck. If I do it again, I might opt to do this on the individual squares, before they are sewn together, and then straight stitch-in-the-ditch around the letters to quilt. But I do like the effect of the blanket stitch as quilting.
Here's what it looks like on the back.
If you want a more quilted look, you can do some free-motion or outline quilting in the negative space. Here, I used a holly leaf design. I took the design from a coloring page I found on the internet, but there are dozens of other designs you could try. I used Google images and selected "line drawing". There were lots of choices. I cut out the design, drew it on with my water soluble pen, and stitched around the line, then washed out the pen marks.
I used a red stripe by Michael Miller that I had in my stash for the binding. It reminded me of candy canes.
All done. Ready to cuddle up in on Christmas morning.
I hope you like my Simple Merry Christmas quilt. In the comments from yesterday's post, someone suggested that this idea would make a cute baby quilt using smaller blocks, perhaps, and maybe the baby's name for the letters. Someone else suggested doing it in more traditional Christmas colors. I think both ideas are fantastic.
If you decide to make this quilt, I hope you will send me a picture. I'd love to see it!
And even though it's {still} August, Merry Christmas!
Friday, August 3, 2012
Think Christmas Blog Hop - A Simple "Merry Christmas" Quilt & Tutorial - Part I
August 3
Crazy 'Bout Quilts
Dexter Days
Cherry's Prairie Primitives
Somewhat Fanciful
Craftluver Marianna
Quiltscapes
Moments
Ruthanne at That Other Blog
Crazy 'Bout Quilts
Dexter Days
Cherry's Prairie Primitives
Somewhat Fanciful
Craftluver Marianna
Quiltscapes
Moments
Ruthanne at That Other Blog
I know that they all have something special prepared for you. I can't wait to go visit and get some great ideas for my own Christmas creations.
Oh, and before I forget, I want to let you know there may be a reward for those of you who stick with me to the end of this post (HINT! HINT!)
But for now, grab a cup of Christmas cheer, sit back and relax while I share with you my
Simple Merry Christmas Quilt
and Tutorial (Part 1)
The quilt is designed in two sizes:
49 blocks, which measures 59-1/2 inches square finished
or
63 blocks, which measures 59-1/2 inches by 76-1/2 inches finished
As it happens, I designed the quilt (thanks Amanda for the inspiration!) for 49 blocks, but I'm not a fan of square quilts. I like a quilt that keeps my toes toasty, so I added two more rows. The basic concept and design is the same. Choose the one that you like best!
Fabric Requirements
For the square quilt (49 blocks):
25 colored blocks
24 white blocks
1 FQ dark solid
Approximately 3 yards backing fabric
For the rectangular quilt (63 blocks)
32 colored blocks
The colored blocks in this quilt are from a Fat Eighth bundle of Ruby by Bonnie and Camille. I love it's old-fashioned Christmas feel at the same time it has a modern flair. So fresh! I really love it!
The white is Kona White. The dark solid is Kona Charcoal.
31 white blocks
1 FQ dark solid
Approximately 3-1/2 yards backing fabric
The colored blocks in this quilt are from a Fat Eighth bundle of Ruby by Bonnie and Camille. I love it's old-fashioned Christmas feel at the same time it has a modern flair. So fresh! I really love it!
The white is Kona White. The dark solid is Kona Charcoal.
The backing fabrics include 2-1/2 yards of the red swirl and 1/2 yard of each of the other two Ruby prints. (More about the backing in tomorrow's post.)
You may also wish to use a piece of fusible web (I used Wonder Under because it was what I had on hand) about the size of a Fat Quarter (18" x 22")
Other Tools and Supplies
Normal sewing accessories like sewing machine, thread, bobbins, etc.
Scissors (paper and fabric - can't stand it when someone uses my fabric scissors on paper)
All seams are 1/4"
RST = Right Sides Together
The Blocks
Carefully cut out your letters using very sharp sewing scissors. I find that my embroidery scissors work very well for this purpose.
Choose 25 (or 32) prints from your Fat Eighth Bundle. You need 9"x9" blocks, and you will notice that a Fat Eighth is 9" wide, so just cut 9" off the length and you're good to go.
Cut 24 (or 31) white squares 9"x9". You can get 6 squares from a standard width of Kona, so you will need to cut 6 9" widths, then subcut into 9" squares.
The Letter Blocks
Choose a font for your letters. I chose HOWSER from among the many fab free fonts at eighteen 25. If you haven't visited eighteen 25 drop by and give this blog a look-see. There's lots of neat stuff there!
Once I downloaded my font (she gives instructions on the blog), I imported it into Microsoft Word and set my font size to 300. Then I typed in MERYCHISTMA (because R and S are duplicated) and printed out my letters. Sadly, each letter printed on a full sheet of paper, but oh well. I traced the stem of the "I" a second time to serve as the hyphen in "CHRIST-MAS".
I carefully cut out my letters with the paper scissors and traced them print side down onto the fusible web. Remember, they need to be in reverse on the fusible web to turn out right on the fabric. (Yes, I have made this mistake a time or two!)
NOTE: You can skip the fusible web and trace directly onto the dark solid fabric and adhere using another method of your choice, if you wish.
Then I pressed the fusible web onto my Kona Charcoal.
A note about fusible web - I really have a love/hate relationship with this stuff. It makes some things so much easier! But, I haven't found a brand that I love, so I tend to buy whatever is on sale or whatever is available. I have found, though, that there are a few tricks to working with this product that keep me from tearing my hair out.
First, this is one product that you need to PRESS, not iron. Pick up the iron and place it down, leave it for a few seconds and do it again. Don't move the iron over the fabric or you may have a mess.
Second, use a HOT iron with NO STEAM. My experience is that the steam prevents the fusible web from bonding with the fabric.
Next, go over each area using the pressing technique described above TWICE to make sure you get a good bond.
Let the fabric COOL completely before cutting or trying to tear away the paper.
Sometimes a pin inserted between the fabric and the paper will allow you to separate the paper from the web without messing up the mesh bond.
The Layout
Take your pretty piles of colored and white squares and lay them out on your design wall. It so happens that my design wall is the living room floor, and although I thought I took lots of pictures of this process, I can't find any without the letters already on them. (I just remembered that those are the paper letters I cut out. I think I placed them there to remind myself to use subtle prints that wouldn't overpower the letters. And if it looks like they are standing on their heads, I'm sorry. It's a small room and the best shot I got was from the wrong end and made them upside down.) But anyway, the process is simple.
ROWS 1, 3, 5, 7 (and 9, if you are doing the rectangular quilt):
Lay a colored block, then a white block, then colored, and white 7 across so that both corners are colored.
ROW 2, 4 6 (and 8, if you are doing the rectangular quilt):
Start with a white block this time and alternate white and colored until you have 7 across.
The letters will go on rows 2, 3, and 4. You may want to choose some of the more sedate prints for these rows so the letters are more pronounced.
Fusing the Letters
Once you have the layout you desire, lay the letters on the squares where they will go. The "M" in "Merry" goes in Row 2, Block 2, for example.
Pin the letters on the fabric squares. (I know, I know, this is a pain, but trust me! If they get separated, you will wish you had used pins.)
Fold the fabric square in half both directions and finger press to find the center.
Remove the paper from the fusible web and place the letter on the fabric in your desired location. Use the same technique for fusible web above to adhere the letter to the fabric square.
Repeat for each of the letters in your quilt.
Return to the living room floor "design wall" and place the letters in their respective locations. HINT: Before you stitch, check your spelling,
Stitching the Rows
Gather up your rows from your "Design Wall" and stitch together. Note that I pinned each row individually in the upper right hand corner to help me keep track of my placement.
Stitch the blocks together RST using a 1/4" seam.
Press the seams to one side, alternating directions with each row to reduce bulk. Pin the rows together with the seams going opposite directions and stitch.
Voila! Your quilt top is done! If you come back tomorrow, I'll help you finish your quilt.
I hope you like my simple Merry Christmas quilt.
And now, if you've stuck with me this long, I think you deserve a reward, don't you?
The giveaway is now CLOSED!
I have a luscious little bundle of Denyse Schmidt DS Quilts Fat Quarters to give away to one lucky reader. Here's how you enter:
1. Leave a comment below telling me of your family's favorite Christmas tradition.
2. If you are a follower of my blog, you get a second entry. Yup, even if you become a follower today! Just leave a comment to let me know.
3. For a 3rd chance to win, visit my facebook page and leave a comment. You can even "LIKE" it if you wish - I'd really like that! (All commenters on the FB page will be numbered after all the comments on the blog.)
You have until Wednesday, August 8th to enter. The winner will be drawn sometime on Thursday, August 9th. Please be sure I have your email address so I can contact you. No email address = no valid entry.
Also, you might want to drop back by occasionally... I'm amazingly close to 200 followers and 300 posts, and that seems like it might be another good reason to celebrate. Just sayin'...
You have until Wednesday, August 8th to enter. The winner will be drawn sometime on Thursday, August 9th. Please be sure I have your email address so I can contact you. No email address = no valid entry.
Also, you might want to drop back by occasionally... I'm amazingly close to 200 followers and 300 posts, and that seems like it might be another good reason to celebrate. Just sayin'...
Thanks for visiting! And even though it's still August, Merry Christmas!
Subscribe to:
Posts (Atom)